Sunday, July 31, 2011

Staples! My New BFF!

Staples Office Supply and I have always been good friends.  I visit my friend Staples all the time.  In fact, it's possible our relationship was somewhat codependent.  He would send me a sales flyer, and I would go spend my money.  Well, things have just gotten more serious between us. 

You know those amazingly cheap deals on school supplies they run each week around this time?  Deals like notebooks or crayons for only ten cents, limit 2 per a person?  Did you know teachers are exempt from the 2 per a person rule?  Did you know we can purchase up to 25 of each item?   I HAD NO IDEA!  And, this is how Staples went from being my friend, to being my new BFF!  (Can you tell I've been hanging out around ten year olds for far too long?) ;-)  Check out my haul today:
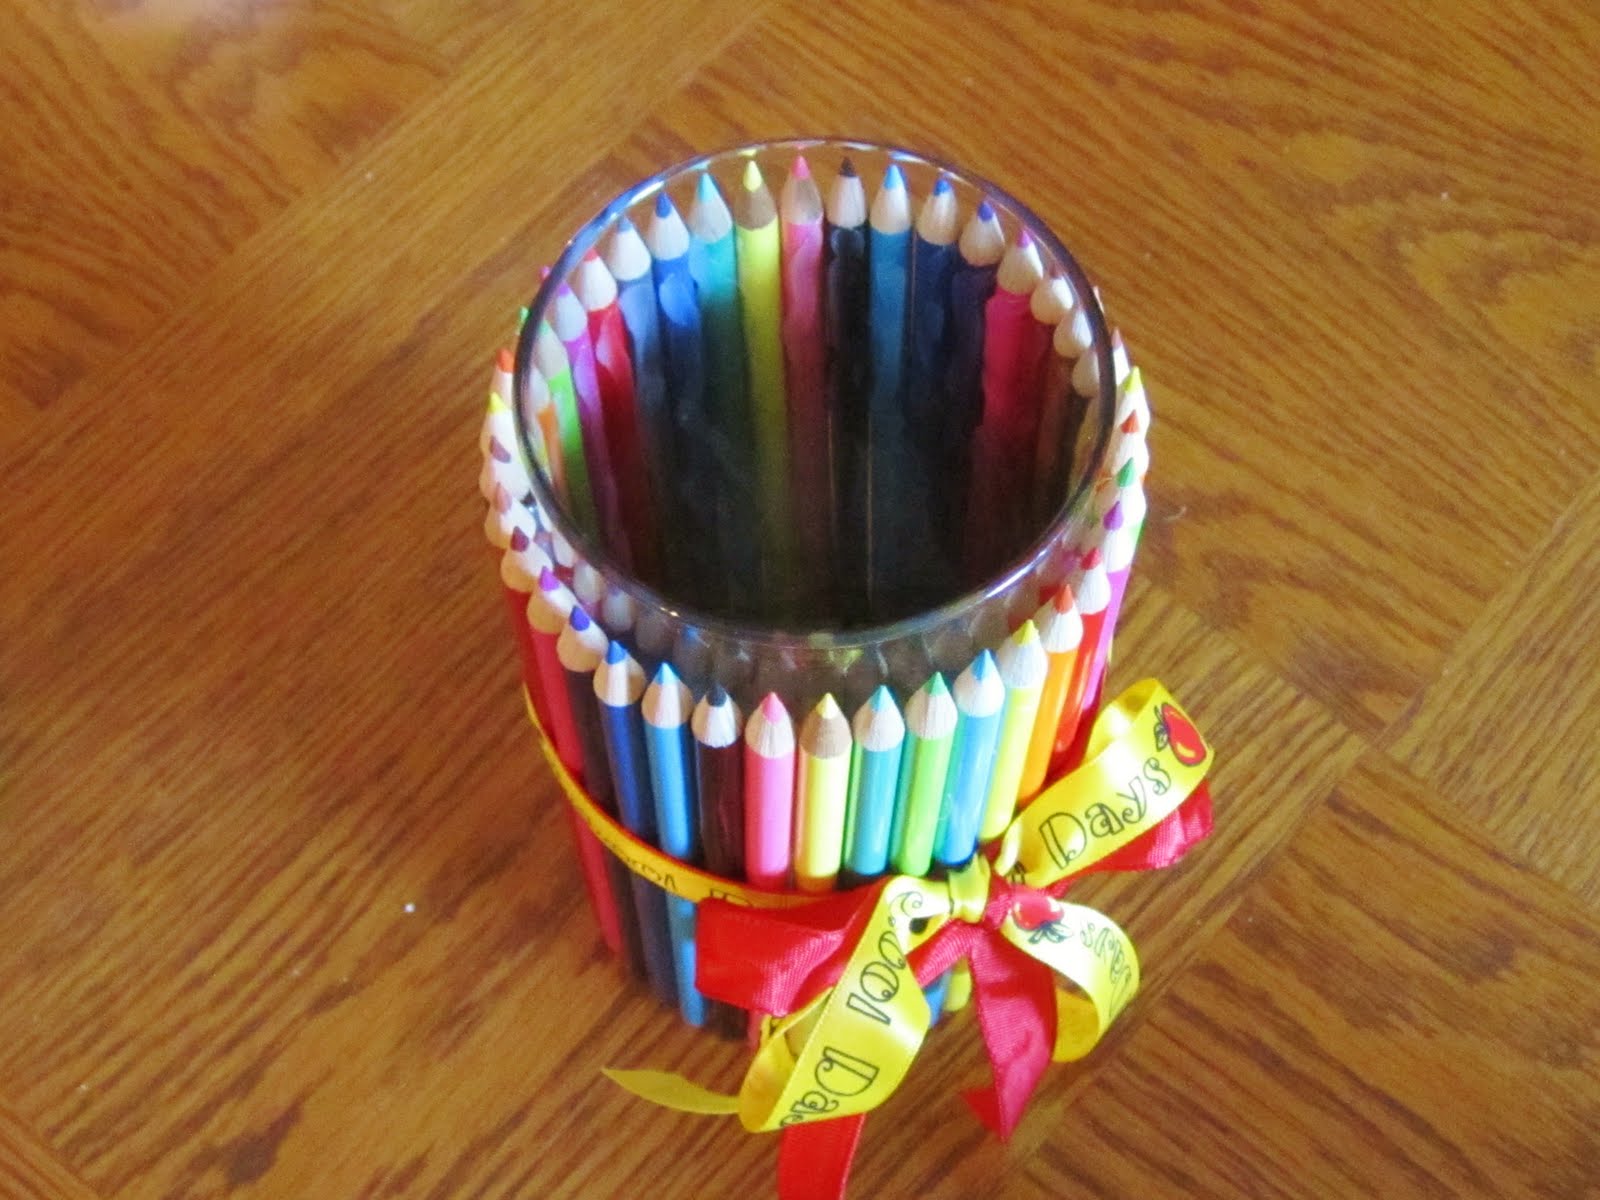
Ignore my blender in the background.  Yeah, that so wasn't a ten cent purchase!
So, specifically what was this week's sale?  And, what did I get?  Lots for just ten cents each!


25 packs of yellow Sharpie highlihters for $2.50
That's 50 highlighters people!!


25 packs of #2 pencils for $2.50
Pencils is a battle I choose not to fight.  I'm not getting upset if you don't have a pencil.  Go grab one from the supply table.  As teachers, we have to pick and choose our battles, and the pencil thing is one I am not fighting!


25 packs of 3x5 ruled index cards for $2.50
I am practically giddy about this one!  I never seem to have enough of these even though I request it as a school supply every child needs.  I'm going to have to do a post on the millions of different ways I use these in my classroom soon.


There is just one catch to the deal.  You have to spend $5 on some other merchandise.  Then, you can buy up to 25 each of the super sale items.  NO PROBLEM!  I found an 18 pack of sticky notes for exactly $5.  That's another item we use like crazy, so I can never have enough stick notes.

So, that's the Staples deal.  As I wrote, you may have already known about this.  If so, why didn't someone tell me? ;-)  If you didn't know, you're welcome! 

I'm thinking that I may run by again later in the week and pick up some more index cards.  You know I will be closely checking out that sales flyer each week from now on!  Staples, I love you!

Colored Pencil Pretty!

The second project I was inspired to make via Pinterest involved some colored pencil, a glue gun, some ribbon, and a glass vase.  Put them all together, and here is what you get. . .

Ignore my dollar store flowers!  I just threw them in for a look-see.
I purchased most of what I needed at the dollar store, so this was another frugal classroom idea.  I needed:
  • 3 boxes of 18 count colored pencils  ($3)
  • glass vase from the dollar store ($1)
  • ribbon  I didn't have any that I thought were "it" so I purchased some.  ($3)
  • Glue gun, which I had
Total project: $7  I think if you are a crafty person and have some ribbon around, you can get this down to a $4 project.  If  you also happen to have a glass vase around, you're down to $3.

As you gather your materials, make sure you have pencils that are as tall as your glass, or not.  The projects I saw all had the pencils come to the edge of the vase.  As you can see from the pictures below, mine does not.  I actually like it a little lower than at the lip of the vase.  Wouldn't the points have a better chance of being broken off if they reach all the way to the top?  I don't think it's really noticeable if they don't anyway.


How to:  Get your glue gun out, and run a bead of glue down the length of the pencil.  You want to be sure to put the glue on the part of the pencil that has any writing on it.  This way, the outside of the vase has no writing and is just a pretty rainbow of colors.  When I glued the pencil to the glass, I put the end of the pencil right on the table so that I knew it was all level and straight.  I also made sure a little bit of glue squished over to the pencil next to the one I was gluing. 


I ended up using about two and a half packages of colored pencils, but it all depends on the size of your vase.  To finish up, I put a ribbon around the whole thing.  How cute is this school ribbon?

Ignore my messy couch in the background!
 You could use this for flowers or anything else you can think of. I'm sticking with my dollar store flowers for another touch of color. Fill with fresh flowers and this would make a great gift for any teacher.  I've also seen it done with all yellow #2 pencils, crayons, and the short colored pencils.  They all looked pretty cool.

Now, I know this is not exactly a classroom necessity like the magnets I made, but it sure is a pretty decorative touch.  I was going to put this on my desk, but I have a sign-out area that I think needs some pretty.


Saturday, July 30, 2011

Classroom Magnets

After finally completing the curriculum work, I need a bit of break from serious school stuff.  This means I have yet to write the post on the guided reading book recently read. 

 Instead, I decided to get my craft on! 

I have been totally obsessed with Pinterest these days.  Hours, and truly I mean HOURS, of the last few days have been delightfully lost roaming their boards. It's sort of like a giant bulletin board of images.  You can search any category or topic.  If you haven't checked it out yet, GO!


Super strong magnets I made with my own two little glue gun burned hands!

I have found many classroom craft ideas there that I couldn't wait to try.  I have two done, and two I am mid-project.  Today, I am going to show you how I made these amazing magnets for my classroom. I saw them on several different boards and thought it was just what I needed.  It seems I am always looking for magnets for my whiteboard.  Buying them can get expensive, so this project is not only useful, but frugal.

Here's what you need: 
  • A bag of clear gems from the dollar store ($1)
  • Any color/pattern paper.  I used solid colored scrapbook paper I had.  ($0)
  • Mod Podge.  I was out and had to purchase some.  Glad I had a coupon!  ($3)
  • Glue gun, which I had ($0)
  • Magnets.  I used the strong, black circle magnets. I had 4 and purchased some more. They came in a pack of 8.  ($3) 
In all, this project cost me $7 to make 12 magnets.  I purchased my supplies at A.C. Moore, a local craft store.  Not bad considering I am using the Mod Podge on several other projects.  If I purchase another pack of magnets all the other supplies are on hand, and I have 8 more magnets for just $3.  If you have purchased strong, decorative magnets you know they can be costly. 

So, here's how it works.  Trace the clear gem on your colored paper.  Then, cut the circle a little smaller than what you traced.  Use the Mod Podge to glue the paper to the flat side of the gem. I spread the glue on one side of the paper and stuck it on the gem.  Make sure you smoosh it down a little so it really sticks.  I then let it sit overnight.  The next day, I glued the magnet to the construction paper side of the gem.  That's all you need to do.  Easy Peasy!

Here's a shot of the back of the magnet.
And, here are some more back shots!


It really was so easy.  And, they are really strong.  I think they will hold up heavier charts and laminated posters without a problem.  Below is a side view of them on my fridge.  They pop out just enough that it's easy to pick them up and move them around.

Just enough room for hands big and small to move them easily.

And, this is how my completed magnets make me feel. . .


 Tomorrow, I will show you my second Pinterest inspired classroom craft.

7/31/11 UPDATE!  I went to Michael's today.  It's another craft store.  I found the same magnets I used in this craft at a much cheaper price!  The package below of 50 magnets cost $7.00, that's only 14 cents a magnet.  I'm planning on making some for my coworkers as a small back to school gift.


Saturday, July 23, 2011

The Best Laid Plans

If you read my last post from the 13th, you would have read that I had plans to blog at least twice a week over the summer.  Okay, so today is the 23rd and no posts until now.  So, what happened?
~CURRICULUM WRITING~
I have been doing some science and social studies curriculum writing for my district.  It has taken more of my time than I had anticipated.  Probably because the district needs it done about two weeks sooner than they had originally requested.  The good news is I'm almost done.  I'm hoping my next post is a reflection on one of the professional books I read recently about reading workshop.  There are about 4 good books I wanted to get in over the summer.  I'm on the second one now.  I'm not sure if I will get to them all.  I would like some non-school related time this summer.  Between the curriculum writing and the professional reading, I feel like the school year hasn't ended. 

I was thinking about some other posts I want to do as well.  I have been putting a lot of thought in about how I want to set up my classroom this year.  Sadly, I can't get in to my room until the last week of August, so there won't be any picture posts about that until then.  I know I am going to be jealous of you teachers out there who are able to get in your rooms earlier.  Then again, maybe I will be able to pick up some good ideas from you all!


Wednesday, July 13, 2011

I'm Back! And, Boy Do I Have Plans!

Okay, it's not back to school time for me yet, but it is back to blog time!  I haven't kept up with this blog at all, but that's about to change.  If anything, I think this will be a great place for me to have a record of teaching ideas, thoughts, and resources.  I'm happy to share them, but for now this is more for me.  If anyone does stop by, I hope that you will find something to help out or spark an idea that will be helpful to you.

This year, I have plans to rearrange my classroom.  I did a post showing my classroom set-up from September 2010.  I am in the same classroom, but there are going to be some changes to my teaching that will are prompting me to change the flow and organization of my room.  I'm also considering doing away with my teacher's desk, but so far I just can't bring myself to do it!  We'll see what happens when I go in at the end of August to set-up my room.  That's when I will be able to post actual pictures of my room and how I organize. 

I have also been doing a lot of professional reading so far this summer on Reader's Workshop.  I have done components of it in the past, but I am planning to jump in 100% this year.  I am going to do some posts on the books I have been reading.  There is a lot of great information out there!

So, that's where it stands.  I am hoping to post twice a week over the summer.  That's my goal.  Maybe more, but no less.  Once school starts, I am sure I will post more as I will have more to say! :-)