Sunday, January 29, 2012

The Continuum of Literacy Learning

Do you know  this book?
It's The Continuum of Literacy Learning: A Guide to Teaching
by Fountas and Pinnell.
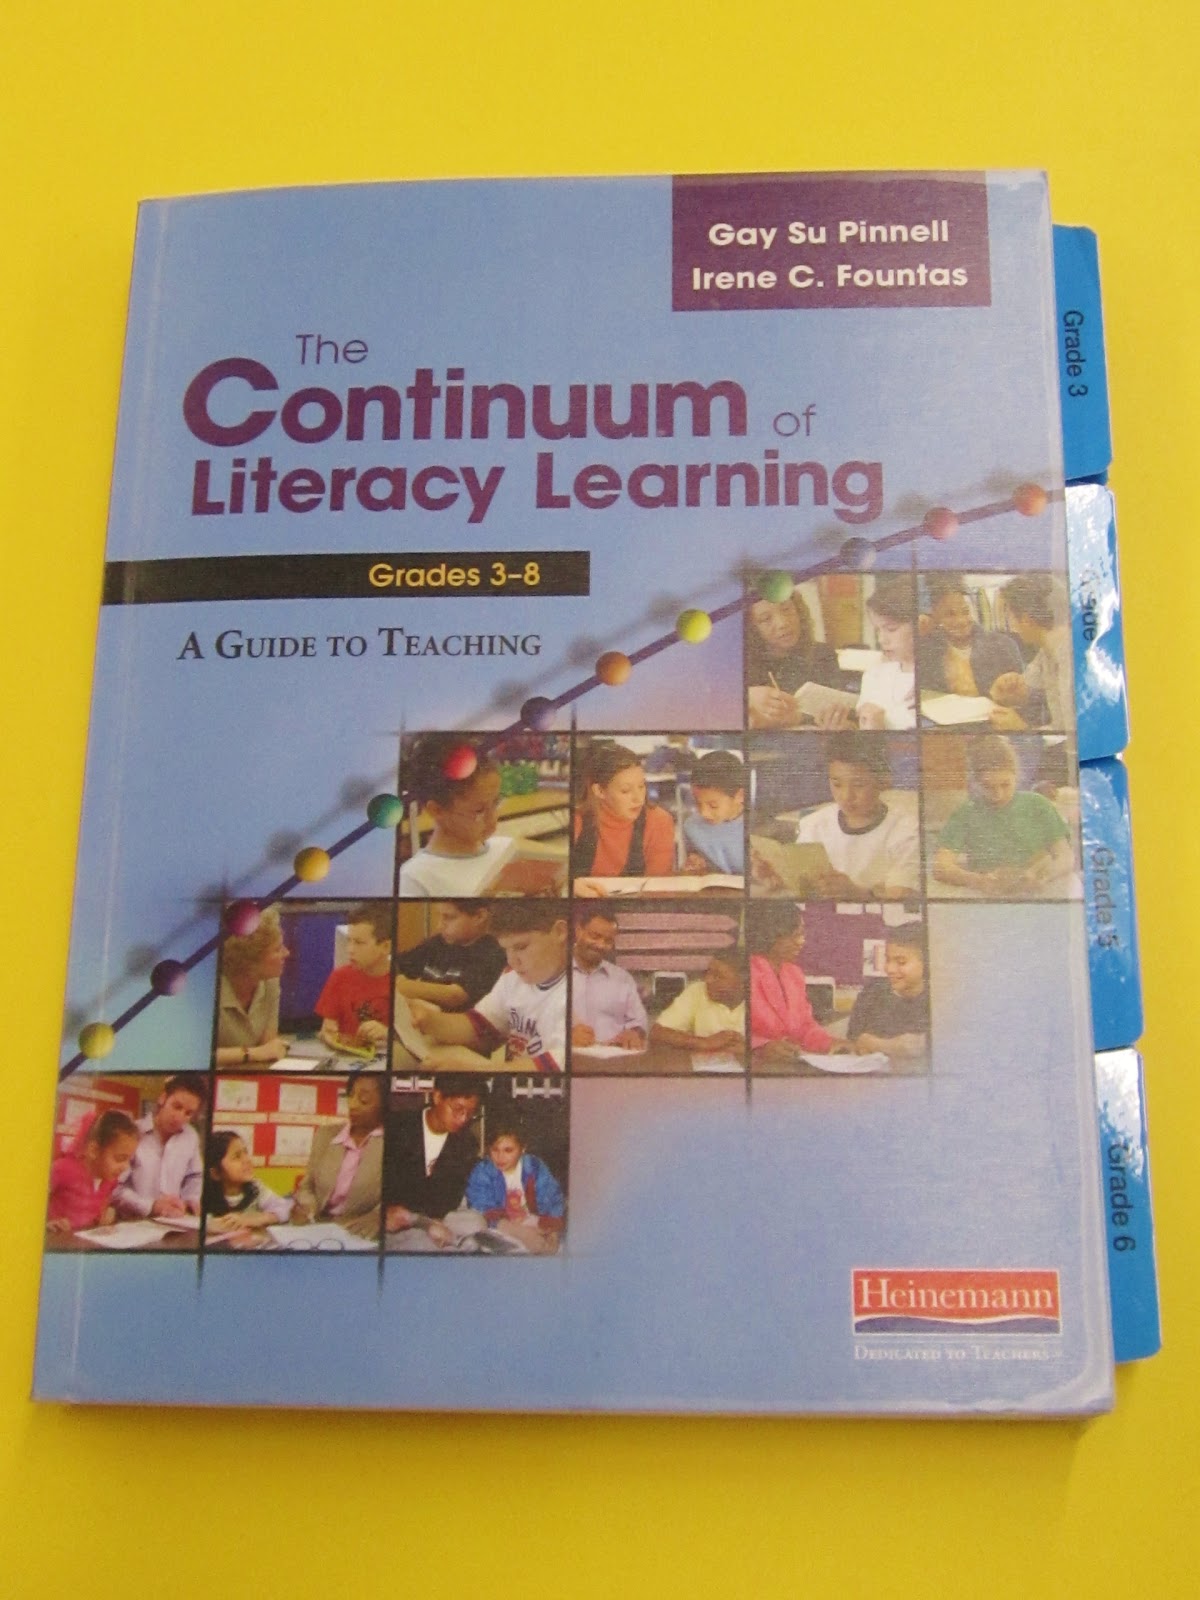
The picture and link above is the book I have.  It was published in 2007.  This link will take you to the second edition pictured below, which was published in 2010.  Both pictures are for the grade 3-8 book, but there is also a preK-grade 2 edition.

If you do guided reading groups or any kind of leveled literacy instruction, I would say this book is a great resource to have on your shelf. So, what's the book about?  It focuses on seven continuum of literacy learning:
1.  Interactive Read-Aloud and Literature Discussion
2.  Shared and Performance Reading
3.  Writing About Reading
4.  Writing
5.  Oral, Visual, and Technological Communication
6.  Phonics, Spelling, and Word Study
7.  Guided Reading

The introduction explains that "This learning continuum. . . is designed to help educators teach from the specific body of understandings that students must acquire to become highly effective users of oral and written language.  With this foundation, you can set clear goals for learning and plan specific lessons across many instructional contexts." (From page 1 of the first edition)

So, what does all that mean?  Let me show you how the book is set up.  It begins with an introduction chapter that explains the seven areas above.  Then, we have the lovely tabbed sections! For the purposes of this post, I am really just highlighting the reading and guided reading information.


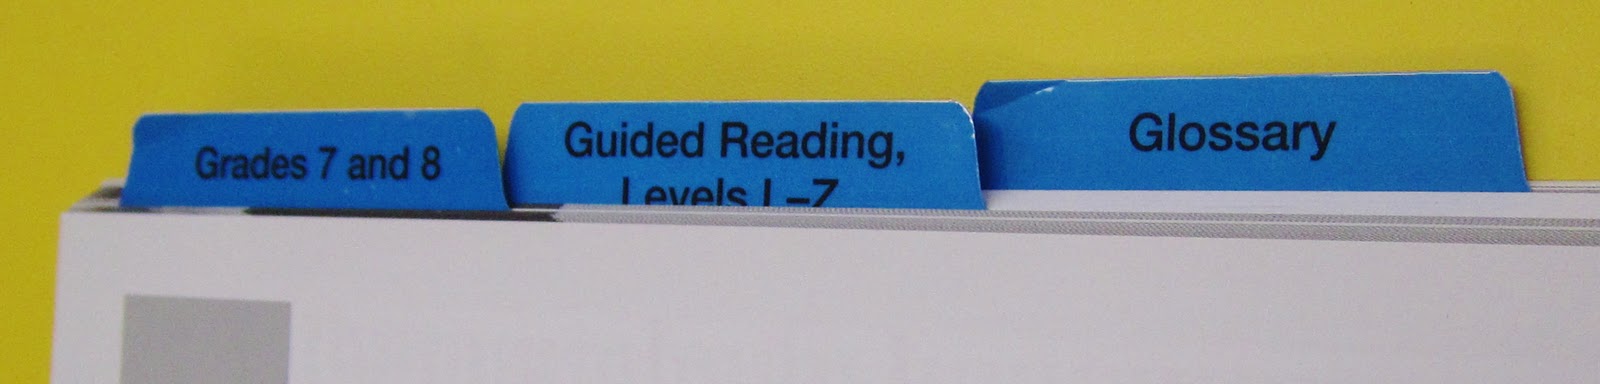
Behind the grade level tabs, you will find "a general guide to the kinds of understandings students will need to acquire by the end of each grade."    But, wait! There's more! (Don't I sound like I'm selling Ginsu Knives?) Each grade level give you specific, detailed information on "behaviors and understandings to notice, teach, and support" in bulleted lists.  It will do this for each continuum, 1-6, that I listed above.  As I said, it does it in great detail.  It will guide you in setting grade level specific learning goals, curriculum goals that will have your friends thinking within, beyond, and about the texts they read.

The glossary tab section defines pretty much any literacy term you might ever come across.  It's nice to have because, really, you can't expect every teacher to know every literacy term out there.

Here is my favorite section.

Each level gives you explicit information in several areas.
  • It will describe what you can expect, in general, of readers at that level.
  • There is also a tremendous amount of information on selecting texts for that grade level.  It goes into detail about genres, text structure, content, theme/ideas, language and literacy features, sentence complexity, vocabulary, word decoding, illustrations, and book and print features.
  • Another area of information explains the demands of the text at this level.   Essentially, this is the area that is helpful in planning the different components of your guided reading lesson.
  • The final topic of information covered is how to plan for Word Work at this particular guided reading level.
Honestly, I don't think you could ask for more.  This book is good for everyone.  I think new teachers sometimes have difficulty understanding just what students at different grade levels should know or are capable of.  This comes simply from a lack of experience in the classroom.  This book would give you a good reference of all that information.  If you are new to guided reading or any sort of leveled literacy instruction, this book explains it well.  In fact, in the beginning there is a nice chart explaining the structure of a guided reading lesson.  Finally, for those of us that have experience with guided reading, it's a good resource to have.  Sometimes, it can be easy to fall into planning for the same old learning goals.  This would be a good resource to browse through and see what we haven't focused on lately.  It would also be good for setting remediation or enrichment learning goals.
Here is a sample page from the book to give you an idea of how it is set up.  This is the first page of the section for guided reading level R.  I should note that if you are doing guided reading, but not using the Fountas and Pinnell leveling system, you can still use this book.  The grade level sections are very much on target.  There are also tons of level correlation charts around the web.  You can always just find what the Fountas and Pinnell level is equal to in the leveling system you use. 

I'm sure I have not done this book justice with this review.  There is so much more it's great for than the little bit I've mentioned here.  If you ignore the reading stuff completely, the writing information alone is worth the price of the book.  By the way, if you click the book links it will take you to Amazon.  The books run from  about $25-$32.  Not bad for professional reading!  I should also mention that I haven't seen the second editions in person.  I am assuming it is probably just a somewhat revised version of the first.

If you have this book, please feel free to comment about it.  I would love to know what you think.

By the way, as always, all opinions here are my own.  I am not being paid in any way to endorse this book.  I just like it a lot and wanted to share. :-)

Saturday, January 28, 2012

My Room and a Mish-Mosh of Stuff!

Well, I'm finally posting some pictures of some of the changes I made in my room.  Here is how I set up my library.  It's actually been in this configuration before.  When I found out I was getting a new leveled library, I had to make room.  It turns out that going back to this set-up worked best.
That arrow and caption point out where I'm planning to put the new books.  I typed it in the picture, but it came out really tiny for some reason.  My library is arranged by theme, but I'm excited to add a leveled library.

The yellow shelf runs across the front of my room.  On the other side of my Pro Board is my math area.
I like my math area because it is organized and the vocabulary is posted up front and center.  My friends tend to incorporate the vocab in our math discussions more when they are visible.  That big blue cart is one of the two new shelving units I got.  It holds more math manipulative, but I turned it around because it is sort of messy looking.  Plus, I thought I could put a poster or two on the back blue side.  They were originally going to be bookshelves, but they turned out to be too deep for books.


Below is my new meeting table, otherwise called Big Bird by my friends.  Yeah, even they noticed it is really yellow!
I do love it, but I find it shows every pencil mark and grubby hand print.  I probably should have gone with a darker color.  The area behind the meeting table is a work in progress.  I'm still working on organizing my literacy materials in this area.

Finally, I'm showing you this area for one reason only.  Notice the arrow and bubbles I drew in.
See the bubbles on my whiteboard?  I had my VOICES board there before, but I moved it.  When I took the board down all the tape residue stayed behind.  It was fine for a while.  I knew it was there, but you really couldn't see it.  I also don't use the board for writing, so it wasn't a problem.  Then, I was out for a workshop.  A substitute wrote on the board and then erased.  Of course, it stuck to all the tape residue.  I've been trying to figure out a way to remove it without ruining the board.  The arrow points to a bottle of PAM nonstick cooking spray.  Someone told me that it will take off the tape residue without ruining the board.  I'll let you know if it works.  However, if you have any tips on how to clean this mess please share!!

So, here's an overview of the front of my room from the door. The meeting table is in the back.

One of the things I am going to do next year is tone down all the color.  I think it is all a little busy.  Have you ever noticed the difference between the classrooms of male and female teachers?  There are two male teachers down the hall from me and their rooms make mine look like I'm preparing for a carnival.  They have very spare rooms.  Not a lot of color, not a lot of fancy borders or posters.  Is this true in your school?  Next year, I'm going to find a happy medium between what I have going on and what they don't have going on!

Now, here comes the mish-mosh of stuff.

See these beautiful roses?  One of my students brought them in for me for the Chinese New Year!  Aren't they gorgeous?  I'm really not big on cut flowers, but these made me smile all week.  I hadn't really planned to do anything about the New Year, but I knew I had to. We watched a quick documentary on Discovery Education's United Streaming about the Chinese New Year.

I went to Staples Office Supply today and bought these.
Do you remember Paper Mate's Flair Markers?  I have love these since I was a kid.  It rivals my love of Mr. Sketch Scented Markers!  I'm hoping these will motivate me to attack the pile of papers I have to grade this weekend.  It's good to have hope, right?! ;-)

I also bought four of these Swingline Staplers.  They come in different colors, so I got red, purple, blue, and green.  Added bonus is that they were on sale for only $5 each and I had a 15% off coupon.
For some reason, my friends have destroyed every stapler I had this year.  And, I'm talking heavy duty staplers.  Why do they feel it necessary to make a fist and pound the stapler with all their might?  We are going to have yet another lesson on how to staple correctly when I break these out on Monday.

Finally, I found this anchor chart on Pinterest and had to share.
It is from the blog The Adventures of a 6th Grade Teacher.  It totally reminds me that I have been slacking on teaching Latin roots.  I love the chart and may just have to borrow it.  The blog is by a first year language arts teacher named Miss Klohn.  Judging from her blog, she is doing a phenomenal job for a first year.  I even noticed she is using the thinking stems I use.  :-)

I have another post on some professional reading for tomorrow or Monday.  Depends on how the rest of the weekend goes.  If you do guided reading groups, check back.  However, the book I'm going to share is great for anyone who teachers reading, guided or not.

Enjoy your day!

Wednesday, January 25, 2012

A Bit of a FACElift!

Well, I thought I was closer to finishing my room than it turns out I really am!   Did you ever look at pictures taken in your home and start to notice all these different things that you don't notice in real life?  That's what happened as I took some pictures of my classroom for my "after" blog post.  I started to notice all these little things that I still need to take care of, so the after blog post is on hold for a bit.   The whole room reveal will be coming soon.  Gee, that makes it sound much more exciting than it really will be!

But!  In the meantime, I am going to share a picture of the new spot I put my FACE board.  I first showed you my FACE board in this post.  It's the board where I post a quick summary or reminder for my friends of the mini lesson we completed.  I still get a lot of questions about this board from blog land and even a few teachers in my own building.  Because of that, I thought I would share how it has evolved since the beginning of the year.  Here it is in its new spot:
In the process of moving the room around, the FACES board ended up on a closet next to my meeting table.   Oh, here's a sneak peak of that table for you.  The meeting table that I was worried was going to be way too yellow?  Yeah, it's really yellow!

But, I love it!  Now, back to FACES.  I still use the board in much the same way I noted in that earlier post.  After a mini lesson, we put up a one or two sentence summary of what we learned.  The board is now, as before, next to my meeting table and it comes in handy.  I often have my friends refer to it when we are working in our guided reading groups.  Here are some of the different cards we've put up so far:

FLUENCY

ACCURACY

COMPREHENSION
EXPAND VOCABULARY
-Voracious reading got cut off!
I think you can see some of our nonfiction lessons making their way on to the board.  I do still wonder about it sometimes.  I know that from a distance, the cards are hard to read.  If you look at the first picture above, you can see what I mean.  I wonder if I should maybe print up the cards in a bold font to make it easier to see.  On the other hand, I mostly use the board with my friends at our meeting table where it is all perfectly easy to read.  For this year, I've decided it is what it is.  I just don't have the time to put in to redo all the cards.  It's something to think about for next year.

Do you have a FACEs board?  How do you use yours?  If you don't, any ideas on how to improve on mine?  I'm always open to suggestions!

On a totally different topic. . .  If you blog, how do you come up with blog titles?  Sometimes I try to jazz it up, as in "A Bit of a FACElift." but most of the time I just post the topic of the blog as its title.  Hence the exciting title of my last post, "Nonfiction Text Structure."  So, is it a downer when blog titles are basic and boring? 

Tuesday, January 24, 2012

Nonfiction Text Structures

Recently, my friends and I studied the different text structures of nonfiction.  Having limited resources available to me in school, I went to my old friend "The Web."  You might know my friend.  No matter what I need, he always delivers.  Okay, enough of the corny stuff.  What I really found on my search for more information on nonfiction text structure was this amazing site:


Have you been to this site?  The link above will take you to the page on text structure, but if you browse around there is a lot of other really good stuff there.  Their home page link is here.

This link will take you to their PDF packet on nonfiction text structure.  I used it to make some quick posters in my room to compliment the lessons I did.  If I had more time, they would be a bit fancier, but we are nearing the end of the marking period and I'm swamped with work.  Here is what the posters look like.  If you look at the PDF file, you will see that I enlarged some of the pages to make the posters.


The PDF packet has some fantastic resources in it.  One of the things I liked was the inclusion of signal words to help my friends identify text structure.  I added those to each chart.  Here are some other great things about this resource:
  • In addition to signal words, it provides signal questions to help identify which text structure is used.
  • It shows the different graphic organizers that are used for each type of text structure.
  • There is a fantastic summarizing handout that pulls it together for your friends, sort of like a quick reference guide.
  • The last few pages of the packet are five paragraphs on a common theme (crocodiles!) that you can use to have your friends identify the type of text structure. 
Since I taught a different structure each day as a mini lesson, I typed the paragraphs and projected the appropriate one on my ProBoard.  Then, my friends highlighted the signal words within the paragraph.  You could also just print the paragraphs and use them to assess your friends by having them identify the type of text structure and signal words.  I should also point out that my friends loved the content of the paragraphs, and we all learned more about crocodiles, alligators, caimans, and gavials.  I know my schema is larger because I had no idea what a gavial was before these lessons!

It can be hard to find real-life examples of the different text structures in books when you don't have the time to look around.  The PDF does have a list of books you can use, but if you have a social studies textbook you have a fantastic resource in your hands.  I find our textbook uses all five structures over and over again.  It was quite easy for my friends to work in partner groups to identify sections throughout the book that use the five different structures.  As we continue to work in social studies, I will throw out the question, "What text structure is being used here?"  I'm happy to say they usually know.

So, when I find a great resource, you know I like to share.  If you have no interest in nonfiction text structure, still take a look around the Literacy Leader web site.  It's a keeper!  I promise you will find something you like.

Sunday, January 22, 2012

Finding Fun

Hello!  I know, I've been gone for a while.  Sorry about that.  You know I have been reorganizing my room.  I was at school every day last week until 6 or 7 at night.  I finally have my room about 95% done.  However, by the time I got home, ate dinner, and graded some papers, I was just too tired to post.  So, the plan was to post over this weekend.  I took lots of pictures of my room and am excited to show you.  That would have worked if I hadn't left my camera in my classroom on Friday!  Oh well.  I promise to post it all during the week since I will be back to normal hours. I also have pictures for some other posts I wanted to do this week. I was just going to post without the pictures, but it would take too much explanation.  Besides, I know when I read blogs, I like pictures. 

In the meantime, I was thinking about how we lead such test-driven lives these days as teachers.  In teaching 5th grade, I feel like I often have so much to cover that the fun stuff gets lost.  We don't have time to make something, we have curriculum to learn!!  But, don't we all know that some of the best learning happens in the activities and projects that are fun?  So, I decided to search the web for some learning fun.  Below are some art projects and just some fun stuff I've found around the web that look like something your friends and mine will enjoy.  The title of each project is the link to the activity and the source for the pictures I used.  Take a look.  Maybe you will see something you like!

Literacy

How cute is this?  There is a teacher in my building that does this every year.  When you see the bubble gum faces all together on a bulletin board, you can't help but smile.  This idea has been around for a while.  You can find it all over the web, too.  That must prove it's a good one!  What I like is that the writing part can be simple for younger friends, as in the picture above with just a "first, next, last" prompt.  Or, for older friends, they can write the entire expository essay.  The link will take you to The Teacher Wife blog.  She shows the entire project in more detail.

Expository Writing:  Description
No pictures or links for this one.   However, there are some pictures on my camera at school.  I'm posting this one anyway.  One of the activities I do for our expository writing for description is have my friends write a description of a favorite object.  We then trade papers, and based on only what was written, another friend draws the object.  Without fail, my more detailed writers get the better pictures. When my friends get their pictures back, it is suddenly very clear to them what they may have left out of their description or how their writing may have confused the reader.  I have them revise their writing, and they are always 100% better.

This is from the preschool blog Fairy Dust Teaching.  She makes these pencils for her friends when she is ready to teach how to hold and use a pencil.  It got me thinking.  Wouldn't it be fun to have your friends make a special pencil or pen to be used ONLY for final copies or special projects?  I'm not sure I would go with the glitter on the pencil.  That might get awfully messy, and I would be afraid of what all that glitter would do to  my pencil sharpeners.  However, if you are decorating pens, I'm thinking about all the patterned duct tape they have out now.  Your friends could cover pens in strips of that and have feathers poking out the top.  Just thinking off the top of my head here.  This might be a fun way to spark some writers.

Book Covers
No pictures or links again.  Well, sort of.  Let me explain.  This is something I have done with my friends with great success.  I have them find a book they have read and take construction paper to fit it for a new dust cover.  I like to do it the size of the book because we actually leave the new dust covers on the books when we put them back in our class library. For the project, they have to create an original cover illustration, and the back will have a "grabber" summary that does not give away the ending.  I'm sure some of you have done this project already. 

Now, I actually do have a link.  ReadWriteThink.org has a book jacket maker online.  Your friends can just plug in all the information and it will generate the book jacket.  You can select to do just he front cover, front and back, or the full dust cover.  You can also select if you want it done in color or black and  white depending on the printer you have available to you. 


Math
Favorite math joke of my friends: 
What did the social studies book say to the math book?  Dude!  You've got problems!
See, they are as corny as I am.  We are a perfect fit!  Anyway, here are some fun math artsy things for ya.

Have you seen this one?  Sadly, I saw it after I had already finished teaching the concepts of mean, mode, median, maximum, and minimum.  However, I'm thinking it will be fun to do during those last couple of days of school when my friends have already essentially checked out.  The link above will take you to the project instructions, but if you want to see real life application, visit Rundee's Room blog.  It is a great blog to follow.  If you visit her site, you will see exactly how she conducted the activity.  This may not be so much about art, but in the end they can make some crazy Oreo sculptures.


This is a great project for the beginning of the school year.  Your friends create a poster that shows all the numbers that are important in their lives.  Shows how math is all around us, and it could be a great get-to-know-you activity.  I'm thinking if you wanted to do this later in the year, you could require your friends to use other number names that the class would have to figure out.  For example, instead of saying I was born on May 8th, they might say they were born on four squared divided by two.  The would write the equation of course, I just couldn't figure out how to type in an exponent!

I really like this, but there was no link.  I found this on Pinterest.  The link above will take you to the board it was posted on, but the link is "uploaded by user" so it doesn't take you to a web page.  However, the comment notes that the kids are given a set of directions to follow so that the map includes parallel lines, intersecting lines, perpendicular lines, a variety of angles and geometric shapes, and more.  I'm thinking you could probably write your own directions for this.  Maybe not directions as much as just saying your map must include X,Y, and Z.  Then, it's up to your friends to be creative.


Science and Social Studies
source
Honest to goodness, when it comes to science, that picture above says it all for me!  Science is my least favorite subject to teach.   I really feel as if it is a different language sometimes.  However, I find when I do hands-on projects or activities with my friends, we all understand the concepts much better.  What follows may not be science experiments but more art centered activities.
This is from the Crayola web site.  They give you all the directions.  Of course, they endorse all their projects in the process.  However, I was thinking this would be a great way to include an environmental aspect to the lesson by having your friends use old magazines to do this.  They could tear out pages that have the colors and textures they are looking for.  They could also search at home for any stray papers that might work.

This is very cool!  This is an area of science I don't cover, but I would love to try this anyway.  The supplies and steps are super short and simple.  It's the last step, sprinkling salt on top, that makes the "lava" bubble up and down the glass.

This is from a home schooler's blog.  This one actually follows scientific method and involves just a few simple materials to conduct the activity: rocks, sand, soil, and a jar.  Then, like in the picture above which is from the blog, your friends can recreate their results.  I would probably do this as a small group activity rather than have each friend do their own simple to keep the mess and supplies to a minimum.

Have I made myself clear?!  Just kidding!  But really.  You must go to this web site if you teach anything to do with physics.  It is all about making laptop books (interactive notebook?)  for a variety of physics concepts.  Honestly, all our notebooks should look like this.  Guaranteed to keep your friends interested and involved.  It takes what I did with my Newton's Laws of Motion flip charts  to a whole new level.  Here's a couple of pictures from the site for the light and sound laptop book to give you an idea.
Open it up, and. . .  ta da!!!!
I'm thinking you could add each component as you teach it.  There are many more fantastic ideas on this site.  I really like the magnetism book. 

I have done this one!   The link above will take you to the Canku Ota web page, a Native American online newsletter.  The page will have the two pages below, as well as some other coloring pages.


For this project, I've had my friends write the story of a Native American tribe we have studied.  In writing the story, they use the symbols above to replace words as often as they can.  I've also done it as a fiction writing where they write a personal narrative telling about their day as if they were a Native American.  Instead of regular paper, I give them brown butcher block paper and a black Sharpie to write their story.  Then, I have them crumple and recrumple their paper until it is wrinkled and soft as buffalo hide.  They are always amazed at how the paper becomes soft as fabric.  If time allows, you can always go back with paint and color some of the symbols.   It's a fun project.

So, there you have it.  Just a few fun projects to spark some thinking.  How can we bring a little fun back in to our classrooms?  I'll be back on Tuesday with some pictures of my classroom and some other posts during the week.  Until then, have a great Sunday!

Sunday, January 15, 2012

Planning WAY Ahead

I went to Walmart today.  No, I am not a Walmart fan AT ALL.  Except for maybe today.  You see, first I went to Target.  Then, I went to K-Mart.  After that, I traveled the aisles of Bed, Bath, & Beyond. Then, I ran out of places to go. Nobody seemed to have the storage bins I was looking to buy for my guided reading area. So, I went to Walmart.  Which had exactly what I was looking for.   I ended up getting two of these carts.  They are Sterilite 6-Drawer Craft Carts.
Two carts gets you two pictures!  I think they are going to be perfect for storing my guided reading leveled materials.   The best part is I was able to use a gift card that I had gotten from my friends for the holidays.  Those suckers (The carts, not the kids!) were $23.99 each!   I'm very excited to get back to school on Tuesday and  continue with my room reorganization.

The real reason I'm doing this quick post tonight is not really to tell you about the carts.  It's about planning ahead. In this case, planning WAY ahead.  While in Walmart today, I passed a display of bags of Silly Straws. Do you remember these hard, plastic, curvy straws?
Why Walmart had a display of Silly Straws when it is 22 degrees outside right now, I do not know.  These always remind me of summer for some reason.  I took another look at the straws, and they were only $1.50 a bag.  I immediately grabbed four bags.
The second I saw the straws, I remembered a project I had pinned a while back on Pinterest.  It was for an end-of-the-year gift for my friends.  Here are the pictures I had pinned:

It's from the blog Fakin' It.  And, it seems she got the idea from the blog Hot Momma Makeovers.  Sounds racy, huh?! ;-D  Anyway, you simply attach a small bag of Kool-Aid mix to the straw with a note that says, "Have a Kool Summer!"  I thought it was so cute, and I know my friends will love it.  If you click on the Fakin' It  link, it will take you to her tutorial.  She used a Cricut machine to make the envelopes for the Kool-Aid.  I don't have one, but I figure I still have plenty of time to figure out another way.  I might put it all in a cellophane bag with a summery ribbon.

I hadn't planned to post today, but I wanted to share my end-of year kid gift now since I saw those Silly Straws in the store today at an insanely cheap price.  Now, I just have to hope that when June comes I can remember where I put the straws!